Our setup wizard makes it easy to connect your QuickBooks Desktop account with Chargezoom.
⏰ Setting up your Chargezoom account and connecting to QuickBooks Desktop should only take a few minutes. Most users are fully set up in less than 5 minutes.
To create a Chargezoom account, visit chargezoom.com/signup and complete the signup form. Follow the instructions in the email to log in and get started.
Inside the Chargezoom PayPortal platform, you will be guided by the Setup Wizard.
📋 Checklist:
- credentials for QuickBooks Desktop
- Admin Credentials will be required to enable the Web Connector application
- credentials for your payments provider
- Depending on which provider you use, this may be an API key, a username and password, Merchant ID, or another unique identifier for your business
- company logo - recommended size is 300px x 100px
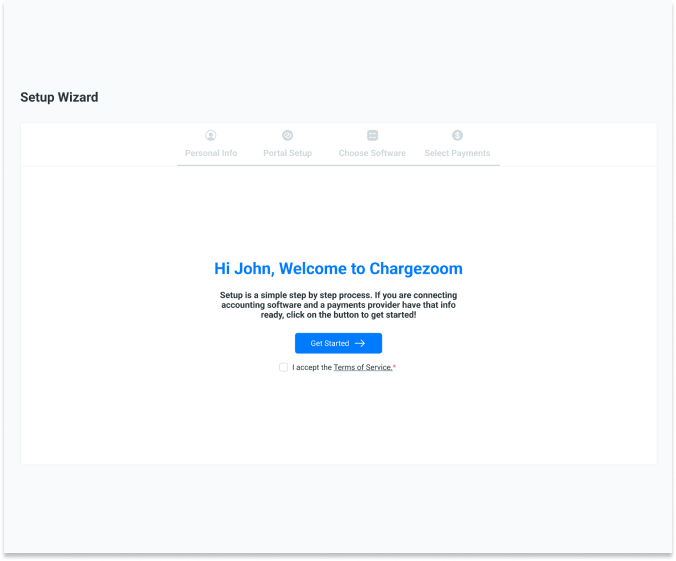
Following the email confirmation, you will be brought to the Setup Wizard. You must accept the Terms of Service to use Chargezoom and get started.
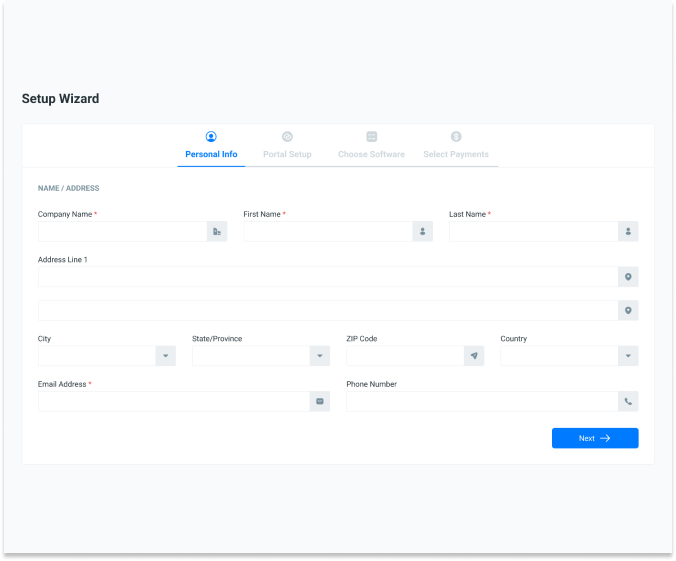
The next step is to enter your Personal Info. This is where you will enter your company details including name, address, email, and phone number.
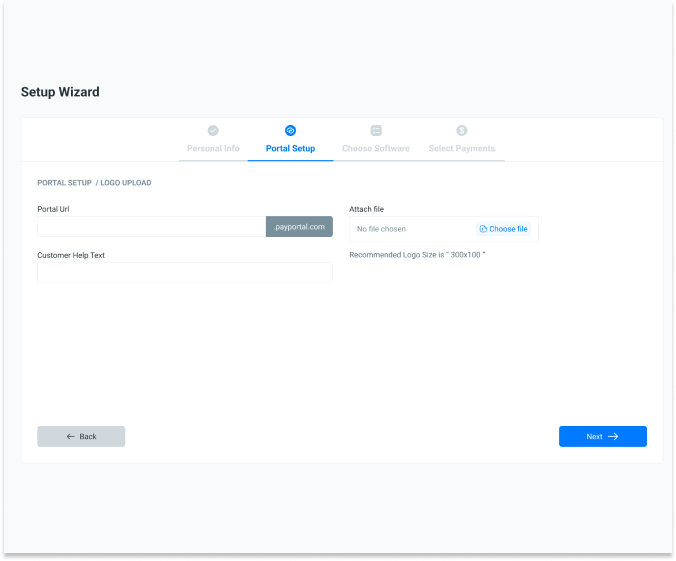
The next step is to setup your Portal. The Portal URL that you choose here will be your business URL for collecting payments and for your customer portal.
Example: the business chooses SunshineDesign for the Portal URL. So their invoice links and customer portal will be accessible at https://sunshinedesign.payportal.com
Here, you can upload your company logo. It is recommended that you size your logo to 300x100px for best fidelity across the site.
The Customer Help Text will be a field used across your platform. This is a message that your customers will see if they need help. We recommend including a short message with contact info. Example: "For questions, please call us at (800)555-5555"
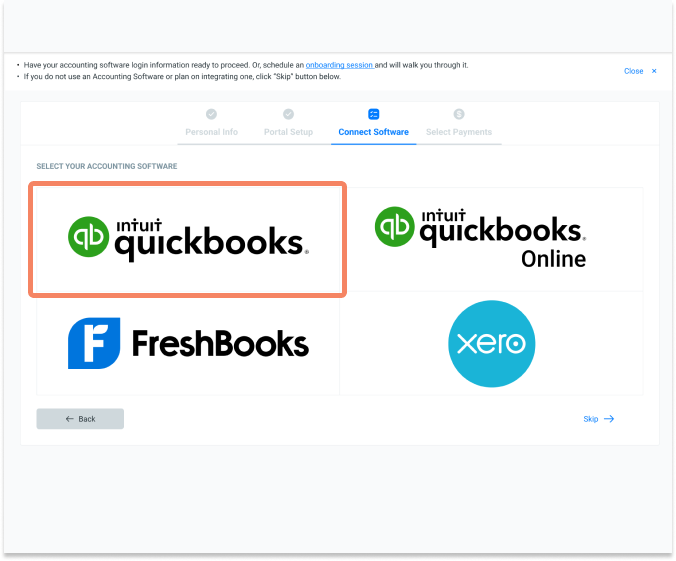
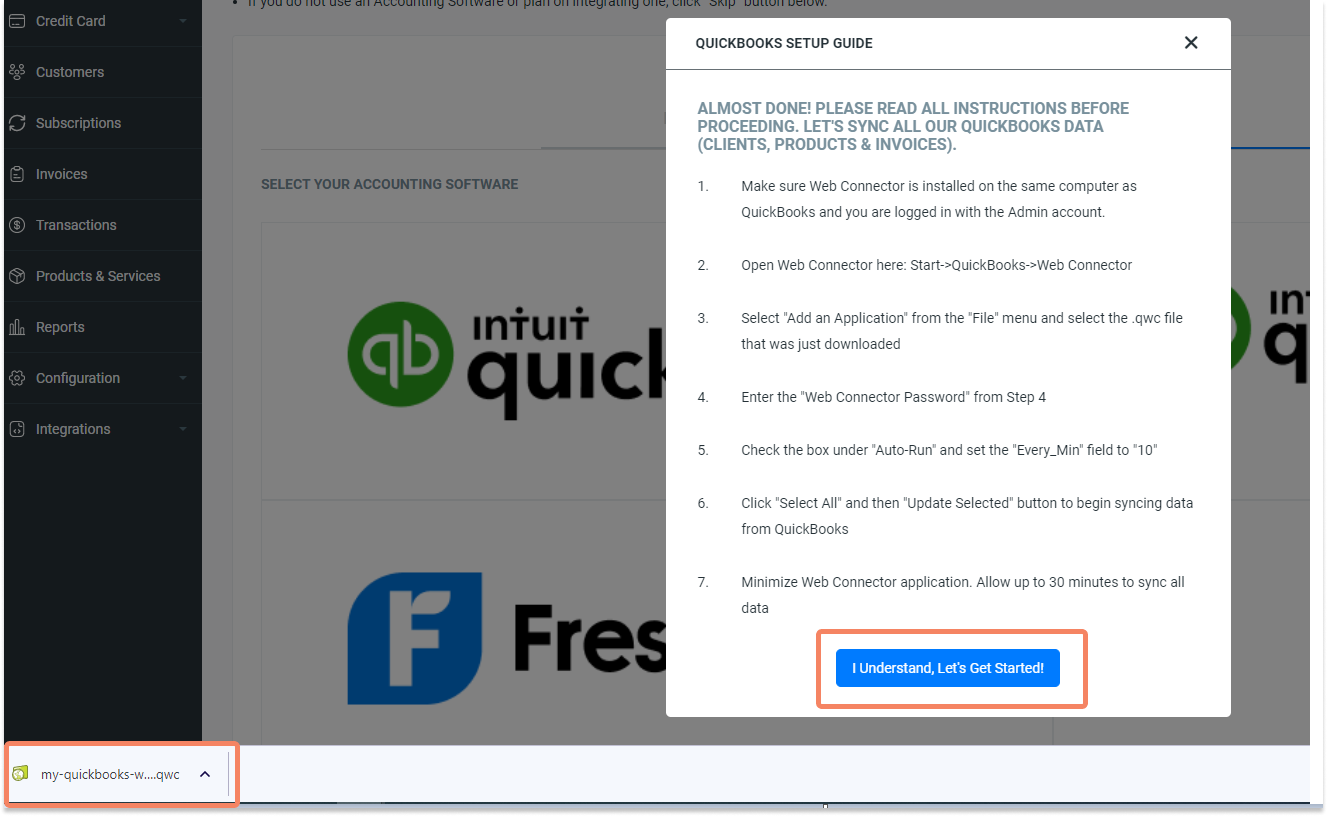
The next step in the wizard will ask you to select your accounting package. If you are a QuickBooks Desktop user, choose the Intuit QuickBooks logo.
👋 If you need help or feel uncertain, you can book a free onboarding session where our friendly staff will walk through the setup live, step-by-step
The next step is to create the custom QWC (QuickBooks Web Connector) file for your account.
In the Setup QuickBooks Desktop window, you will choose a password for this file.
✏️ It is recommended that you store this password in your Password Manager. We will use it again in the next steps, but you may need to access it again in the future.
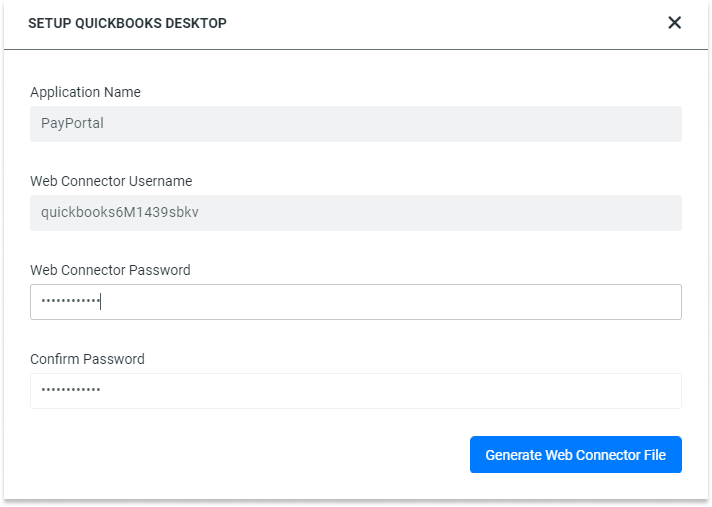
After clicking the Generate Web Connector File button, a QWC file will download automatically.
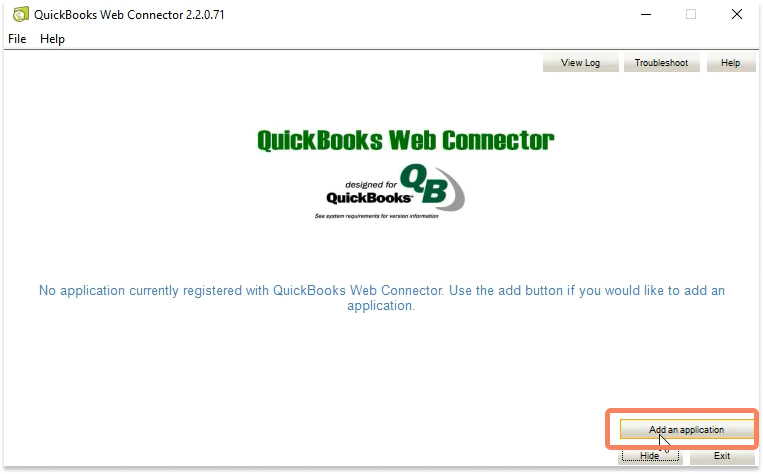
Open QuickBooks Desktop and navigate to the Web Connector. Web Connector should come pre-installed with your QuickBooks Desktop software, but if it has been removed or requires an update you can download it from Intuit here: https://quickbooks.intuit.com/community/Help-Articles/Set-up-QuickBooks-Web-Connector/m-p/185852
-png.png?width=259&height=422&name=Group%2010%20(1)-png.png)
When QuickBooks Web Connector opens, you will want to choose Add an Application
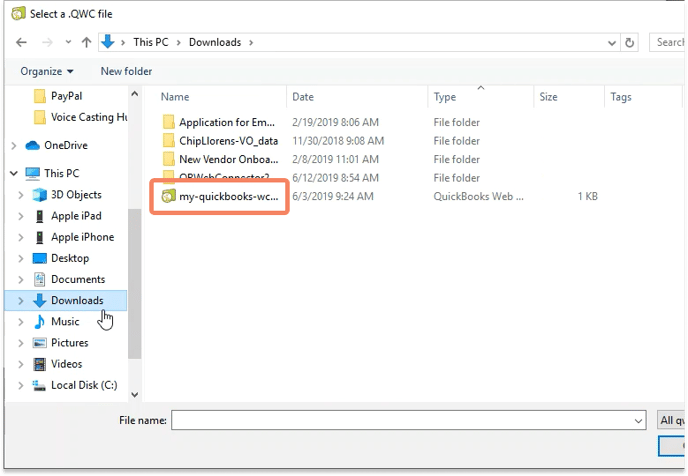
You will then be prompted to open the QWC file that was downloaded a moment ago. This file is most likely in your Downloads folder, unless you had selected a different file path.
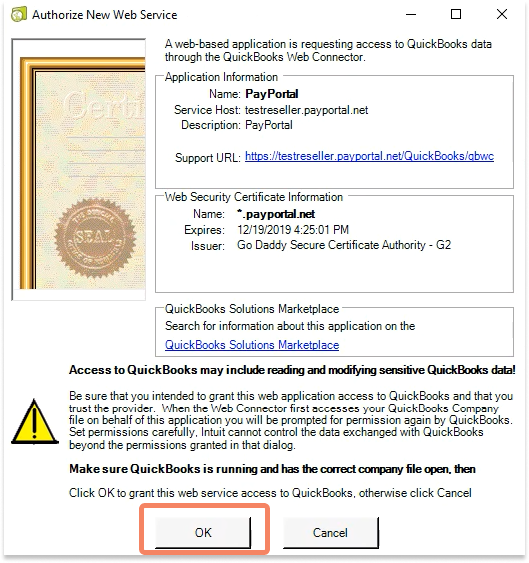
A new window will appear to Authorize New Web Service. Here, you will confirm that QuickBooks Desktop is running and you have the correct Company File open. When that is confirmed, click OK to continue.
Next, you should see PayPortal listed in the Web Connector application. Here, you will enter the password that you created for the QWC file a few minutes ago. When that has been entered, click Update Selected to begin the synchronization.
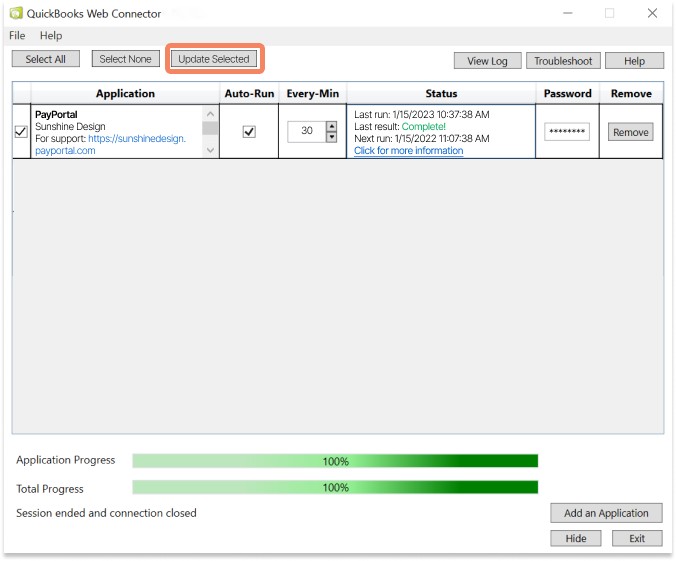
⌛ The first sync between QuickBooks Desktop and Chargezoom will be the longest. The time that it takes is determined by the size of your Company File and the speed of your connection. For most users, this process should be completed within 10 minutes. Businesses with large Company Files may take up to 60 minutes for the first sync. Subsequent syncs will be substantially faster with most happening in seconds.
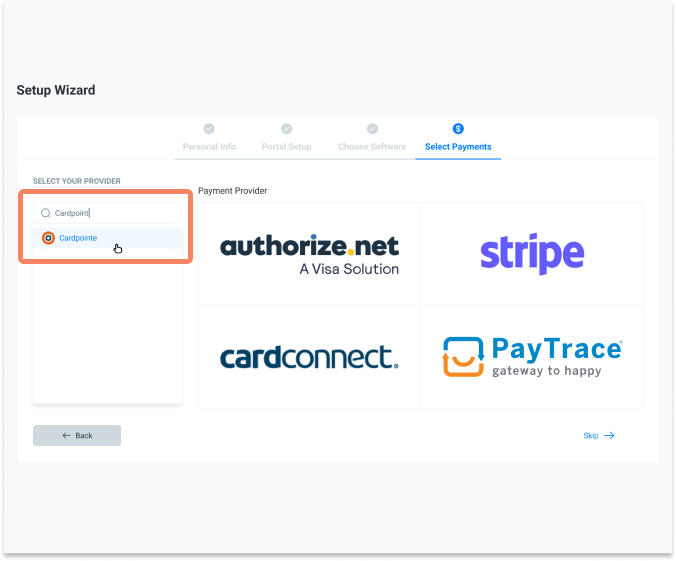
Now that QuickBooks Desktop has been connected, you can now connect to your Payment Provider.
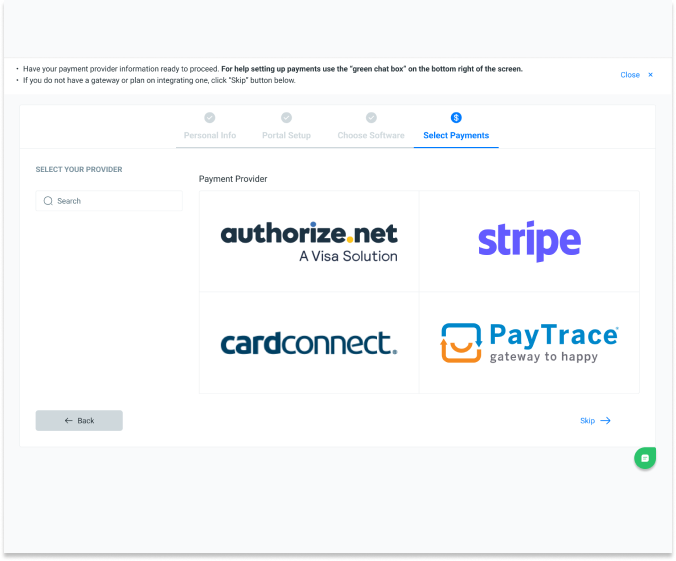
If your Payments Provider is not shown on the screen, you can use the search box on the left-hand side of the screen.
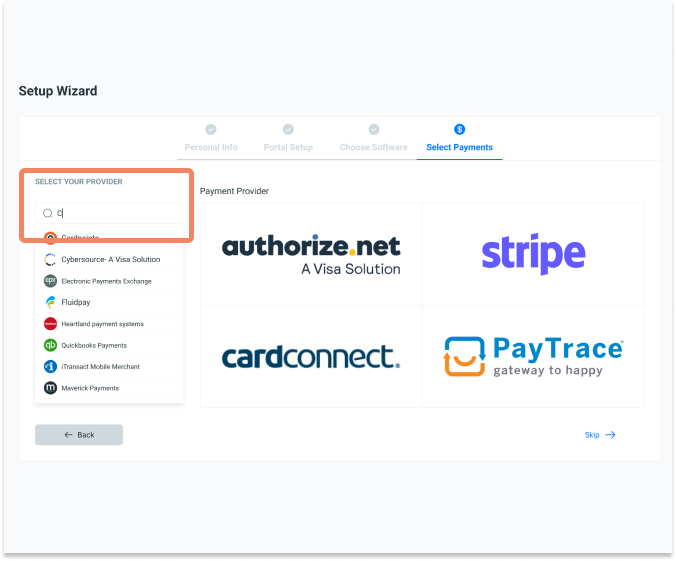
Select your Payments Provider
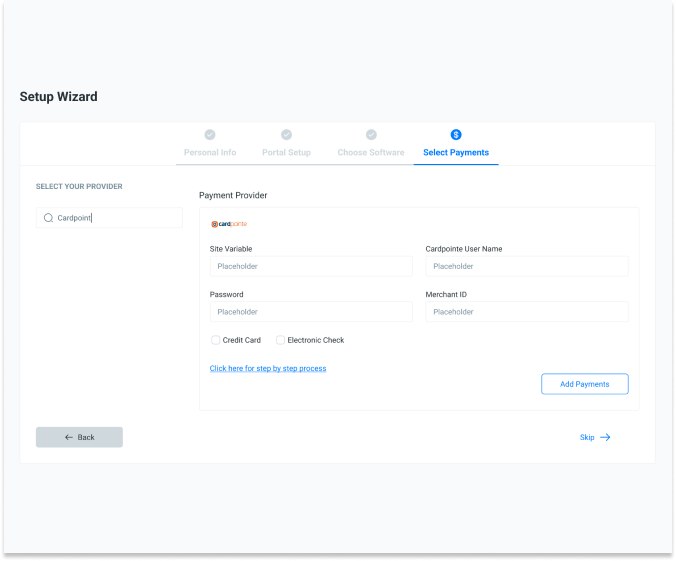
Finally, you will enter the credentials for your Payment Provider. Please note: the credentials vary by payment provider; your credentials may be an API key or a username and password.
If you do not have a payments provider, you can click the Skip button to continue.
Congratulations! You have successfully onboarded and are ready to send your first invoice!