
Chargezoom allows you to keep your QuickBooks Payments account (also known as Intuit Payments) to collect payment on your invoices.
Connecting QuickBooks Payments to Chargezoom
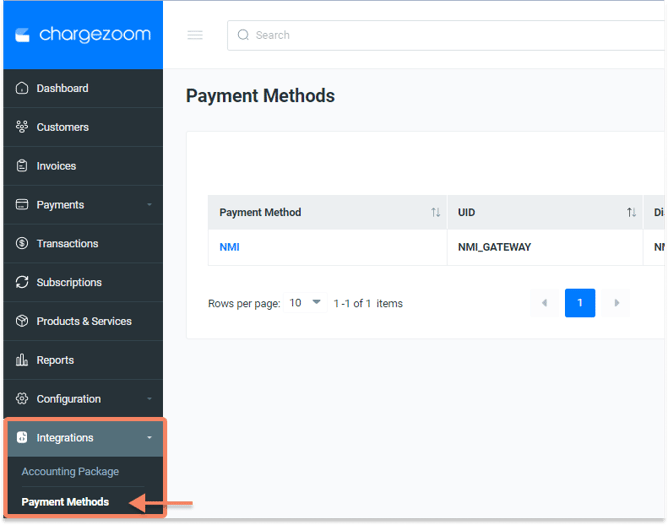
Log in to Chargezoom, then navigate to Integrations and select Merchant Gateway
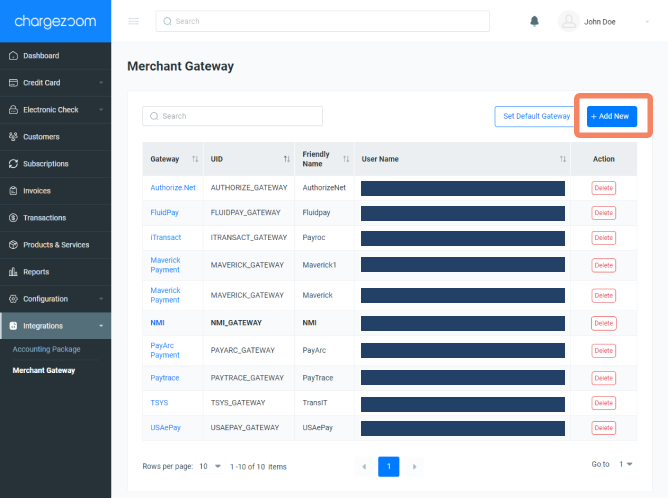
Here, you will see a list of all gateways that you have connected. To add a new gateway, click the +Add New button.
Next, you will enter a "Friendly Name" which is any name that means something to you. For example, if you have multiple MIDs with the same gateway, you may want to label them GatewayVendor01, GatewayVendor02, etc. to keep them easily identifiable to your team. Then select Intuit from the drop-down menu.
You will see a warning message to confirm that you have added your redirect URI inside of QuickBooks. If you have not done this yet, see step 16 in the instructions below.
Please note that the link displayed in the blue box below is for demonstration purposes only and yours may vary.

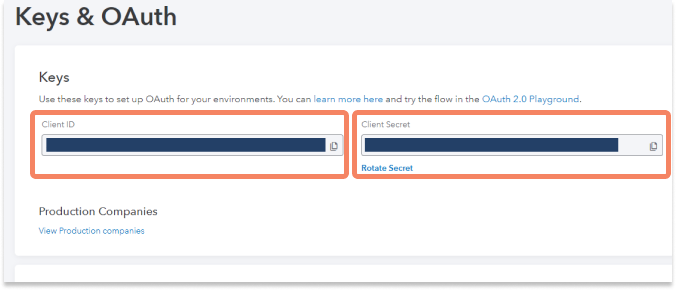
Next, you will enter your ClientID and Client Secret for your account. Click here for details on how to find your ClientID and Client Secret. Click Add and the gateway is connected and you can start accepting payments.
Setting up QuickBooks Payments to allow Chargezoom to connect
To use QuickBooks Payments in your Chargezoom account requires a few steps to generate your Client Keys and Authorization credentials. Below is a step-by-step guide to creating those credentials and linking them to Chargezoom.
🕗 Note: the QuickBooks authorization process may take up to 30 minutes. QuickBooks will save your progress as you work, so that you can leave the forms and return any time.
- Log in to the Intuit Developer portal using your QuickBooks Online account: https://developer.intuit.com/
- On the home screen, click the Dashboard link

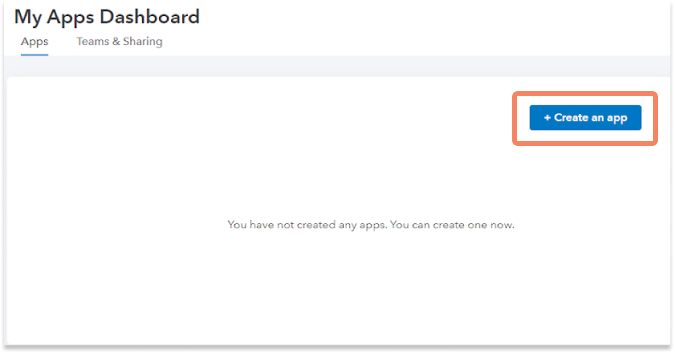
- From the Dashboard, you will Create An App for Chargezoom
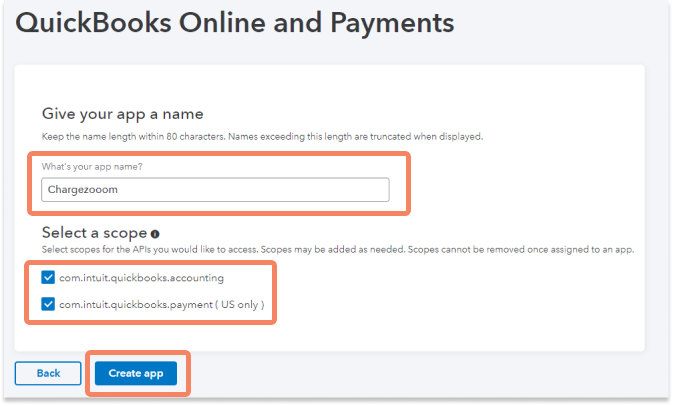
- Click QuickBooks Online and Payments
- Next, you will name your app. We recommend that you name the app "Chargezoom" to avoid confusion later. Check the boxes under the Scope and then click Create App
- After the app has been created, view the Keys & Credentials menu to view your app's production keys
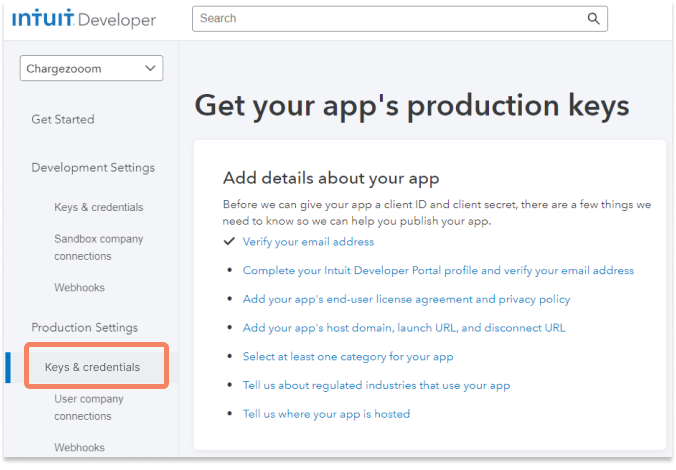
- You may need to complete the items on the checklist in order to proceed:
- Verify your email address
- Complete your Intuit Developer Portal profile and verify your email address
- Add your app's end-user license agreement and privacy policy. Please use the Chargezoom official links below:
- End User License Agreement URL: https://chargezoom.com/terms
- Privacy Policy: https://chargezoom.com/privacy-policy
- Add your app's host domain, launch URL, and disconnect URL. Please use the Chargezoom official links below:
💡 Please note: these domains should be copied exactly as shown below to avoid errors.
-
-
- Host Domain: dashboard.payportal.com
- Launch URL: https://dashboard.payportal.com/
- Disconnect URL: https://payportal.com/quickbooksintegrationdisconnected
- Select at least one category for your app
- Select Accounting
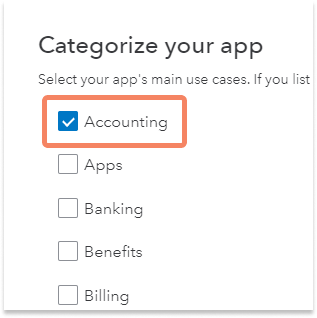
- Select Accounting
- Tell us about regulated industries that use your app
- Select None of the Above

- Select None of the Above
- Tell us where your app is hosted
- Select United States of America
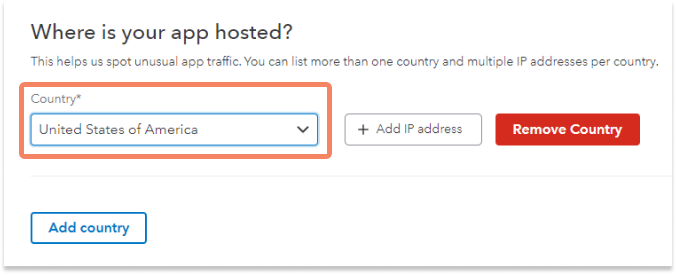
- Countries you accept connections from. Check only United States.

- Select United States of America
-
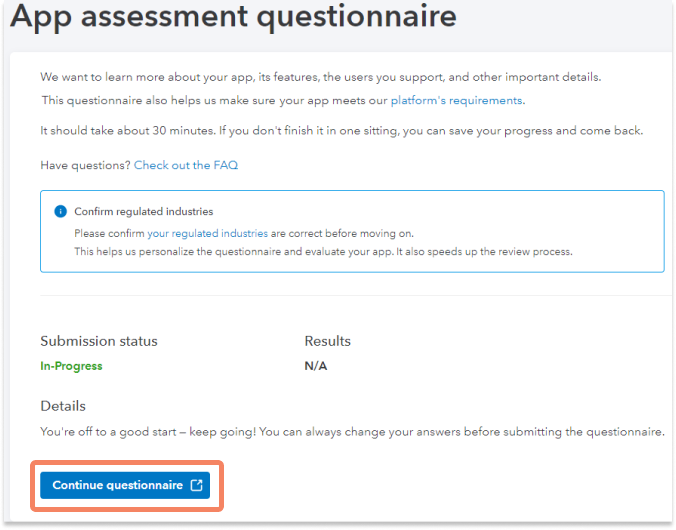
- Next, you will Go to the app assessment questionnaire
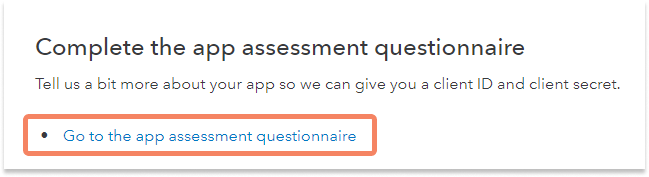
- The app assessment questionnaire may take up to 30 minutes. If you need to exit the form and return later, your progress will be saved.
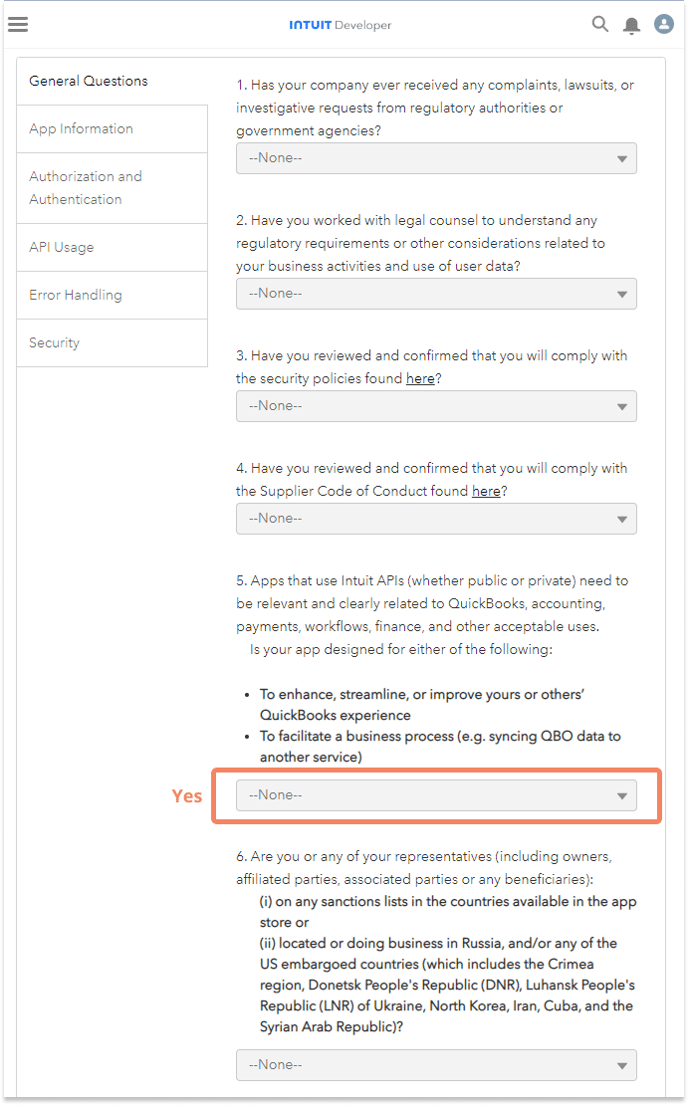
- Fill out the questionnaire with your responses. Question 5 regarding the app's design and relevancy should be answered YES.
- The next section for App Information will ask about your app. Check the box for "You were asked to create this app in order to get credentials/keys or to be used on another platform that integrates with QuickBooks". After checking the box, a second question will appear that asks you to "Provide a link to the instructions that told you to create a new app" and you should include the link to this article: https://chargezoom.com/knowledge/how-do-i-add-the-intuit-gateway
Question 2 will ask if Re-CAPTCHA is enabled. You should answer "No. My app does not process payments.".png?width=676&height=709&name=Group%201687%20(1).png)
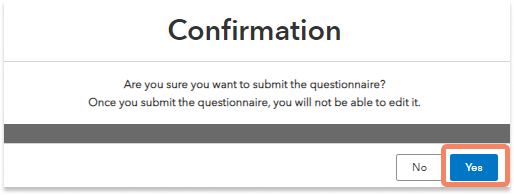
- After submitting the questionnaire, you will receive an on-screen confirmation. Click YES if no edits need to be made.
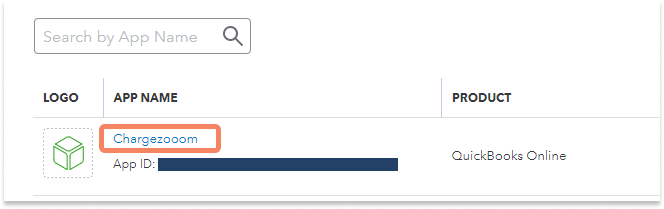
- Once your questionnaire has been submitted you can return to the Dashboard to view your Apps

- Click on the app name (this should appear as "Chargezoom" unless you named your app something different)
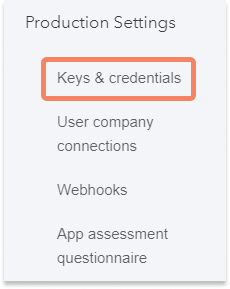
- From the navigation menu, go to Production Settings then Keys & Credentials. Here, you will be able to add the last piece of outstanding information and generate your Client ID and Client Secret credentials.
- In the Keys & Credentials section, you will be asked to include a Redirect URI link which may look different than the example shown below. To ensure that you are using the correct URI link, check the link that is displayed inside the platform. You can view an example here.
.png?width=655&height=242&name=Group%201697%20(1).png)
- In the same Production Settings section, click on Keys & Credentials to view your ClientID and Client Secret keys
Now you are ready to connect QuickBooks Payments to Chargezoom.